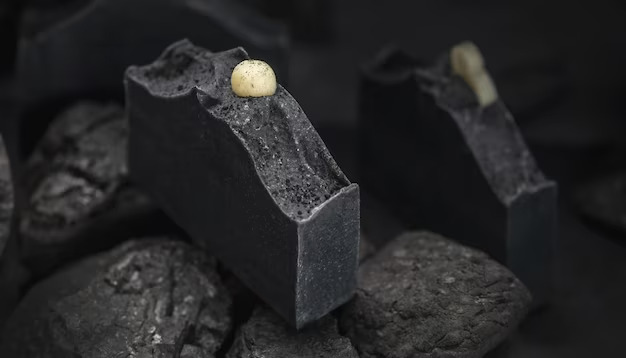
Producing activated charcoal soap at home can be a rewarding and creative process. Activated charcoal soap combines the benefits of activated charcoal with a cleansing soap base. Here’s a step-by-step guide to making your own activated charcoal soap:
Ingredients and Supplies:
- Soap Base: You can use a pre-made soap base, which is readily available in craft stores or online. Choose a soap base that suits your skin type, such as glycerin or shea butter soap base.
- Activated Charcoal: You’ll need activated charcoal powder, which is available in health stores or online. Ensure it’s food-grade or specifically labeled for skincare use. In many cases Activated Bamboo Charcoal is used.
- Essential Oils: Select essential oils for fragrance and added skin benefits. Common choices include lavender, tea tree, eucalyptus, or peppermint.
- Mold: Use a soap mold to shape your soap bars. You can find various shapes and sizes to suit your preference.
- Mixing Utensils: Prepare heat-resistant containers and stirring utensils for melting and mixing the soap.
- Microwave or Double Boiler: You’ll need a way to melt the soap base, either in a microwave or using a double boiler.
- Protective Gear: Wear protective gear like gloves and safety goggles to ensure your safety when handling chemicals and hot materials.
- Packaging paper
Step-by-Step Instructions:
- Prepare Your Workspace:
- Ensure you have a clean and organized workspace with all your supplies within reach.
- Wear protective gear to prevent skin contact with the soap base and activated charcoal.
- Cut the Soap Base:
- Cut the soap base into small, uniform pieces. This makes it easier to melt.
- Melt the Soap Base:
- Place the soap base pieces into a microwave-safe container or the top part of a double boiler.
- Heat the soap base in short intervals in the microwave or melt it using the double boiler until it’s completely liquefied. Stir occasionally to ensure even melting.
- Add Activated Charcoal:
- Once the soap base is fully melted, add the activated charcoal powder. The amount you add depends on your desired level of darkness and charcoal benefits. Start with 1-2 teaspoons and adjust as needed.
- Stir thoroughly to evenly distribute the charcoal throughout the soap base. Ensure there are no lumps.
- Add Essential Oils:
- Add a few drops of your chosen essential oils to the mixture for fragrance and skin benefits. Start with a small amount and adjust to your preference.
- Pour into Soap Molds:
- Carefully pour the charcoal soap mixture into your soap molds. Fill them to your desired thickness.
- Cool and Solidify:
- Allow the soap to cool and solidify in the molds. This can take several hours, depending on the size and thickness of your soap bars.
- Remove from Molds:
- Once the soap has fully hardened, gently pop it out of the molds. If you encounter any resistance, wait a bit longer for the soap to continue cooling.
- Allow Curing:
- Place the soap bars on a clean, dry surface to cure for about 4-6 weeks. This helps ensure the soap hardens and fully dries out, making it longer-lasting.
- Store and Use:
- Store your homemade activated charcoal soap in a cool, dry place until it’s ready for use. Enjoy the benefits of your handcrafted creation!
Remember to experiment with different soap bases, essential oils, and charcoal concentrations to create the perfect activated charcoal soap tailored to your skin’s needs and your personal preferences.
Caution: This procedure can cause harm if done incorrectly. Children must not attempt this guide as it involves heating which may cause burn. All information is for educational purpose only.
")
")
")


